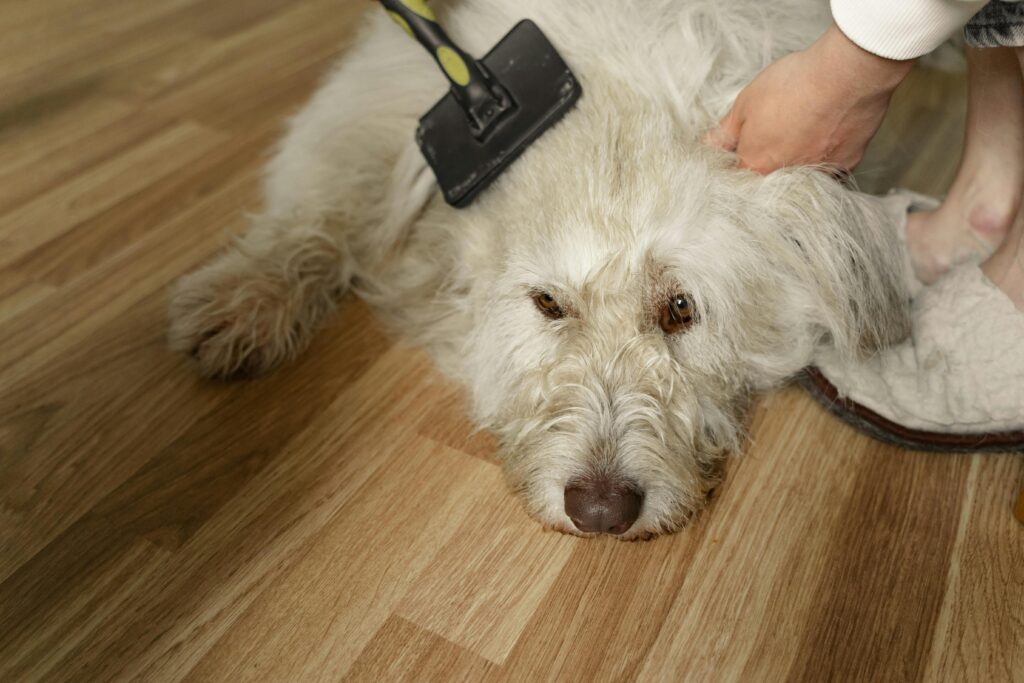
Keeping your puppy clean and healthy is essential to ensure they live a long, happy life. One aspect of puppy hygiene that often gets overlooked is ear cleaning. Regular ear cleaning helps prevent infections, buildup of dirt, and discomfort for your furry friend. In this step-by-step guide, we’ll walk you through how to clean your puppy’s ears safely and effectively, ensuring their ears stay healthy and free from harmful bacteria.
Why Ear Cleaning is Important for Your Puppy’s Hygiene
Your puppy’s ears are delicate and can easily become a breeding ground for bacteria, yeast, and other microorganisms if not cleaned properly. Regular ear cleaning helps to prevent ear infections, which are common in puppies due to their active nature and floppy ears. Keeping your puppy’s ears clean will also ensure they are comfortable and reduce the risk of scratching, head shaking, or discomfort caused by ear issues.
How Often Should You Clean Your Puppy’s Ears?
The frequency of ear cleaning depends on your puppy’s breed, lifestyle, and ear shape. Puppies with floppy ears are more prone to ear infections because their ear canal is less ventilated. If your puppy has floppy ears, they may need more frequent ear cleaning, while puppies with erect ears may require cleaning less often.
In general, cleaning your puppy’s ears once every few weeks is a good routine. However, if your puppy swims frequently, has allergies, or is prone to ear infections, you may need to clean their ears more often.
What You Need for Cleaning Your Puppy’s Ears
Before you begin, gather the necessary supplies for ear cleaning:
- Puppy ear cleaning solution: A vet-approved ear cleaner designed specifically for puppies.
- Cotton balls or gauze pads: Soft materials that won’t irritate your puppy’s ears.
- Towel: To help keep your puppy still and comfortable during the cleaning process.
- Treats: To reward your puppy for being cooperative.
Step-by-Step Guide to Cleaning Your Puppy’s Ears
Step 1: Get Your Puppy Comfortable
Before you start cleaning your puppy’s ears, ensure they are calm and relaxed. You may want to gently hold them in your lap or on a non-slippery surface to keep them still. Use soft, reassuring words and give them a treat to help them associate ear cleaning with positive experiences.
Step 2: Inspect the Ears
Look inside your puppy’s ears to check for any signs of redness, swelling, foul odor, or discharge. If you notice any of these symptoms, it’s important to consult with your vet before proceeding with cleaning. These could be signs of an ear infection or other health issues.
Step 3: Apply the Ear Cleaner
Hold the ear flap upright and gently squeeze the ear cleaning solution into your puppy’s ear canal. Be sure not to insert the tip of the bottle into the ear. Follow the instructions on the ear cleaner’s label for the correct amount to use. Gently massage the base of the ear for about 20-30 seconds to distribute the solution.
Step 4: Wipe Away the Dirt
After massaging the ear, let your puppy shake their head to help dislodge any dirt or debris. Then, use a cotton ball or gauze pad to wipe the inside of the ear flap and ear canal. Be gentle and avoid pushing anything too deep into the ear. If there’s a lot of wax buildup or debris, you can repeat the cleaning process until the ear looks clean.
Step 5: Dry the Ear
After cleaning, use a dry cotton ball or gauze to gently wipe out any excess moisture from the ear. Moisture left in the ear can lead to infections, so make sure your puppy’s ears are thoroughly dry.
Step 6: Reward Your Puppy
Once you’ve finished cleaning your puppy’s ears, offer a treat and lots of praise. This positive reinforcement will help your puppy become more accustomed to ear cleaning, making future sessions easier for both of you.
Tips for Maintaining Your Puppy’s Ear Hygiene
- Be gentle: Your puppy’s ears are sensitive, so always be gentle during the cleaning process.
- Avoid Q-tips: Never use cotton swabs (Q-tips) to clean your puppy’s ears. These can push debris further into the ear canal and cause injury.
- Watch for signs of infection: If you notice any unusual symptoms such as redness, swelling, or a foul odor, take your puppy to the vet. Early treatment can prevent more serious issues.
- Use a vet-approved ear cleaner: Choose an ear cleaning solution that is specifically made for puppies. Avoid using alcohol or harsh chemicals that could irritate their sensitive skin.
Conclusion
Ear cleaning is an essential part of your puppy’s hygiene routine, helping to prevent infections and ensuring they stay comfortable and healthy. By following this simple, step-by-step guide, you can keep your puppy’s ears clean and free from debris. Remember, regular ear cleaning, along with general grooming and hygiene, will help your puppy grow into a happy, healthy dog.
For more tips on puppy care, grooming, and health, check out the helpful resources on PetsDogPuppy!
